 Berke İpekçi
Flashing stock firmware is one of the most powerful ways to fix issues on a Samsung device, return it to factory condition, or upgrade/downgrade the system manually. Samsung uses a tool called Odin, and while it might seem intimidating at first, this guide will walk you through the entire process — from start to finish — safely and clearly.
Odin is Samsung’s internal tool for flashing firmware onto Galaxy devices—though, interestingly, it wasn’t really meant for public hands. With Odin, you can manually update your phone, reinstall the original operating system if you run into bugs or a bootloop, or even roll back to an earlier firmware version (provided the bootloader allows it).
It’s also useful for fixing certain types of system corruption without erasing all your data, which can be invaluable for minimizing downtime and disruptions.
A quick note: Odin is only compatible with Windows. For Mac and Linux users, the alternative is Heimdall, but it’s not officially supported by Samsung and tends to be less stable. This is something to keep in mind when planning device maintenance workflows.
What You’ll Need
-
A Windows PC
-
A compatible USB cable
-
The latest Odin tool (recommended: v3.14.4 or v3.13.1)
-
Your Samsung phone or tablet
-
A correct stock firmware package for your model
-
Samsung USB Drivers
Step 1: Download Necessary Files
You can download it from trusted sources like SamMobile or SamFW.

- Samsung USB Drivers
- Download link (official)
- Stock Firmware
Use one of the following:
-
Frija – Fast tool to download official firmware from Samsung servers
-
SamFW.com – Simple direct downloads
-
SamMobile.com – Trusted but slower (limited download speed)
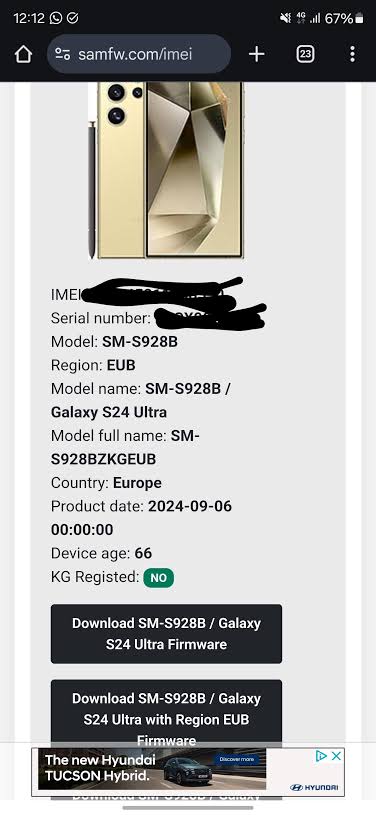
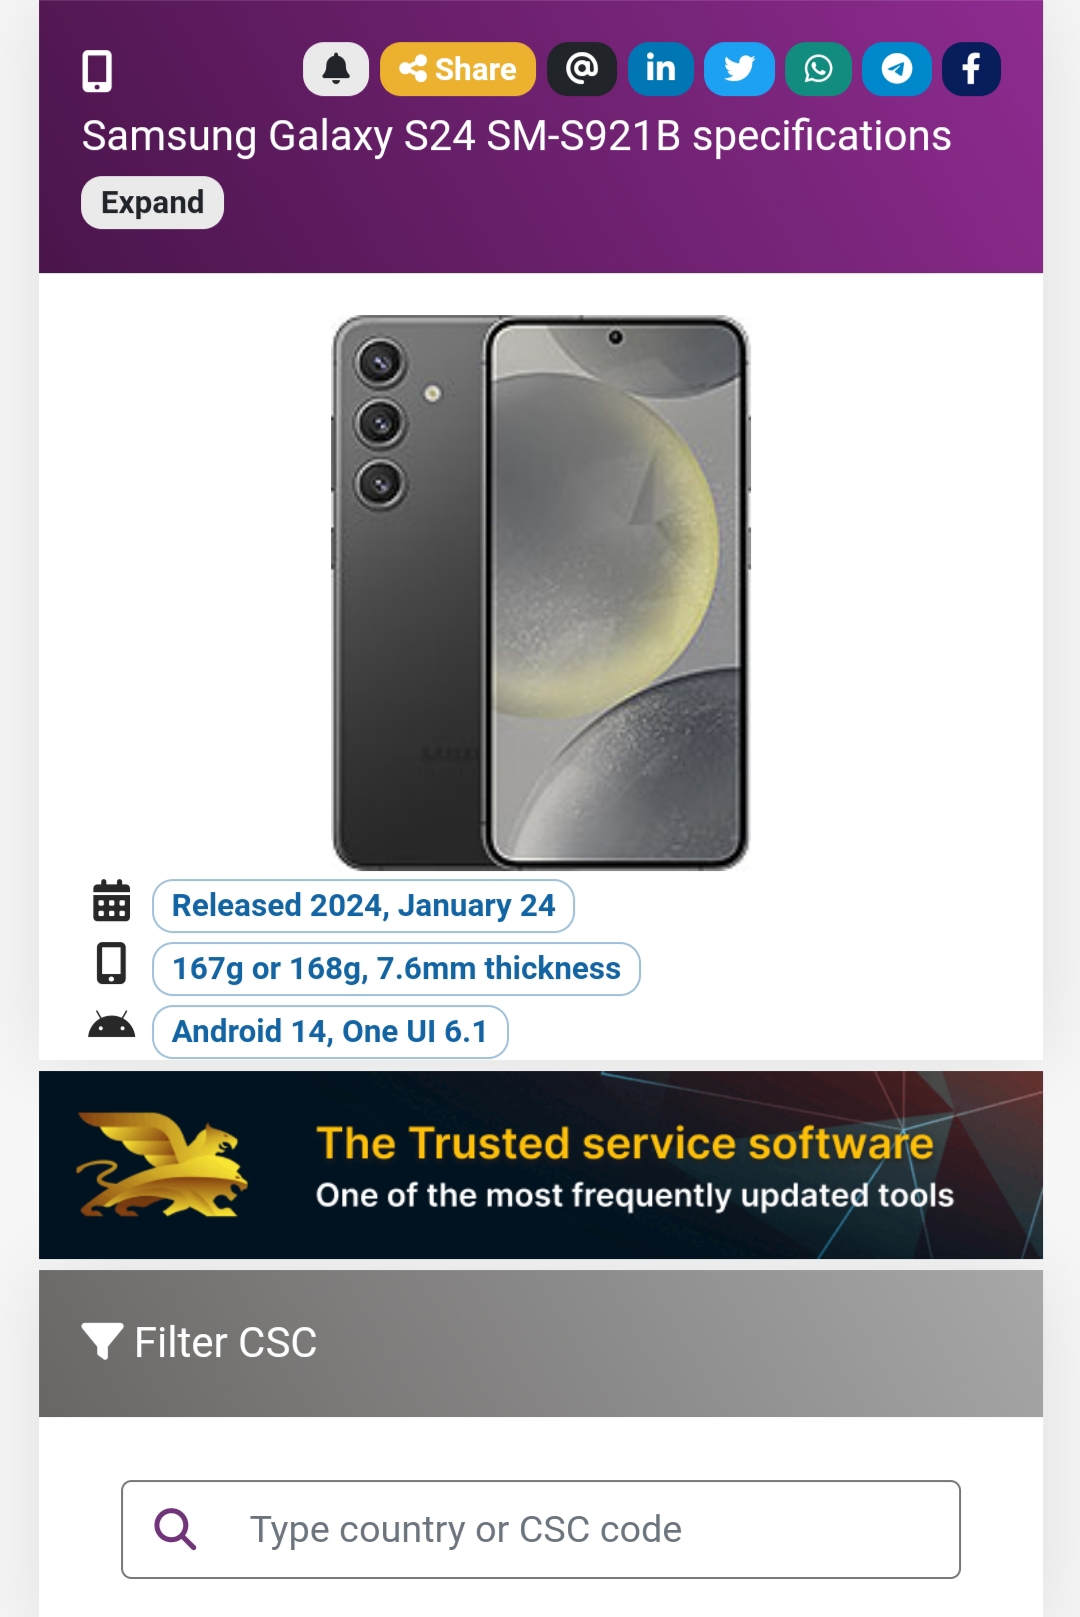
Make sure you know your exact model (e.g. SM-G975F) and region (CSC code like BTU, XEF, etc.).
Extract the Firmware Package
Downloaded firmware is usually a .zip or .rar file. Extract it to get these files:AP_XXXXX.tar.md5BL_XXXXX.tar.md5
- CP_XXXXX.tar.md5
- CSC_XXXXX.tar.md5
- HOME_CSC_XXXXX.tar.md5
- CSC will WIPE data
- HOME_CSC will preserve data
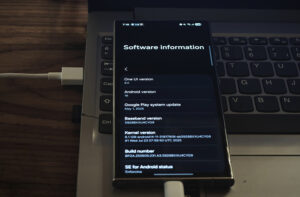
Here’s how to get your device into Download Mode:
- First, make sure the phone is powered off completely.
- For older Samsung models like S9/Note9 with a Bixby button, press and hold Volume Down + Bixby + Power at the same time.
- If your device doesn’t have Bixby (the newer ones), just press and hold Volume Down and Volume Up together.
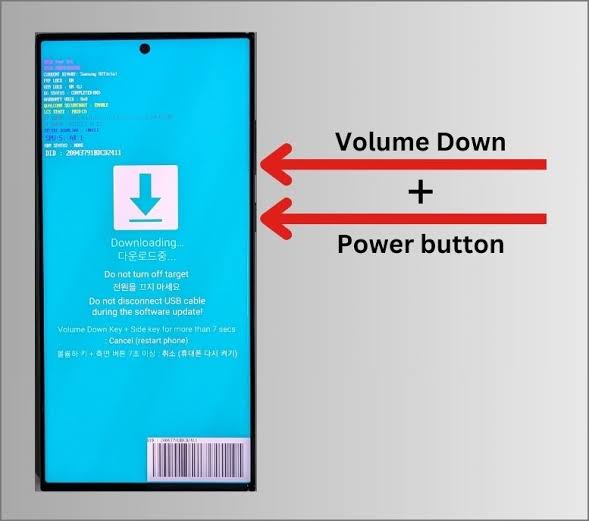
- While holding those buttons, connect your device to your computer using a USB cable.
- Once prompted, press Volume Up once to confirm.
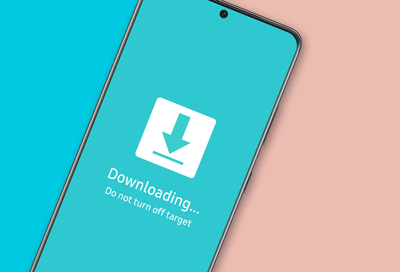
- You should now see “Downloading… Do not turn off target” displayed on the screen. This means your device is in Download Mode and ready for the next steps.
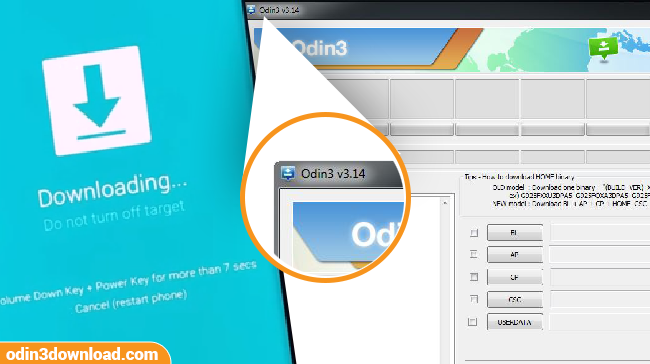
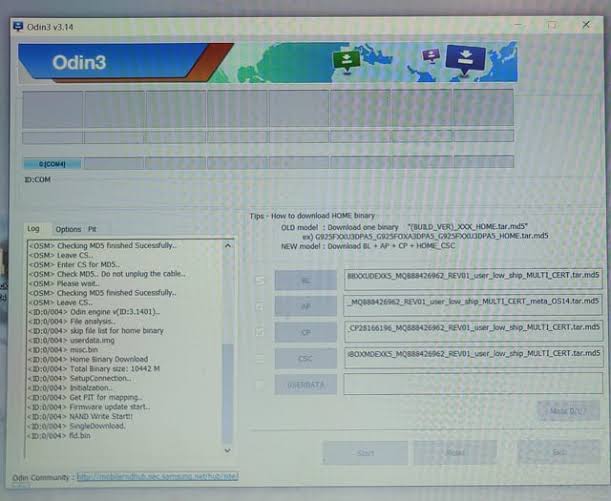
- First, open Odin.exe by right-clicking and selecting “Run as Administrator.” This step is important—otherwise, you might run into permission issues.
- Once your device is connected, look for the “Added!” message in the log. If you don’t see it, double-check your USB connection and drivers.
Next, load your firmware files as follows:
- BL: Load the BL_ file.
- AP: Select the AP_ file. Note, this one may take a little time to process.
- CP: Add the CP_ file.
- CSC: Choose between CSC_ (for a full wipe) or HOME_CSC_ (to keep your data).
Important: Do not modify the PIT or Userdata sections unless you have advanced knowledge of what you’re doing. Making changes here can cause serious issues.
- Begin Flash Process
- Click “Start” to initiate flashing.
Please be patient during this process. Your device will automatically restart upon completion.
If the operation is successful, you will see a green PASS! message in Odin. If you receive a FAIL notification, verify your cable, USB port, and firmware files. For legacy devices, use Odin 3.13.1. For newer models, Odin 3.14.4 is recommended.
- Power off your device.
- Enter Recovery Mode (Hold Volume Up + Bixby + Power).
- Use the volume buttons to select “Wipe data/factory reset.”
- Confirm and reboot.
Bootloader and Downgrade Policy
You may only downgrade to firmware with the same or a lower bootloader version. The bootloader version is the fifth character in the firmware string (e.g., G975FXXU**H**WI4 = Bootloader H, version 8).
Please proceed with caution and ensure all steps are followed precisely to avoid device malfunction.